How to Sync Shopify Orders to Google Sheets (With a Live Dashboard)
CSV exports are a snapshot, not a connection. Here is how to keep a Google Sheet continuously in sync with your store, formatted and readable, with an overview dashboard that rebuilds on every sync.
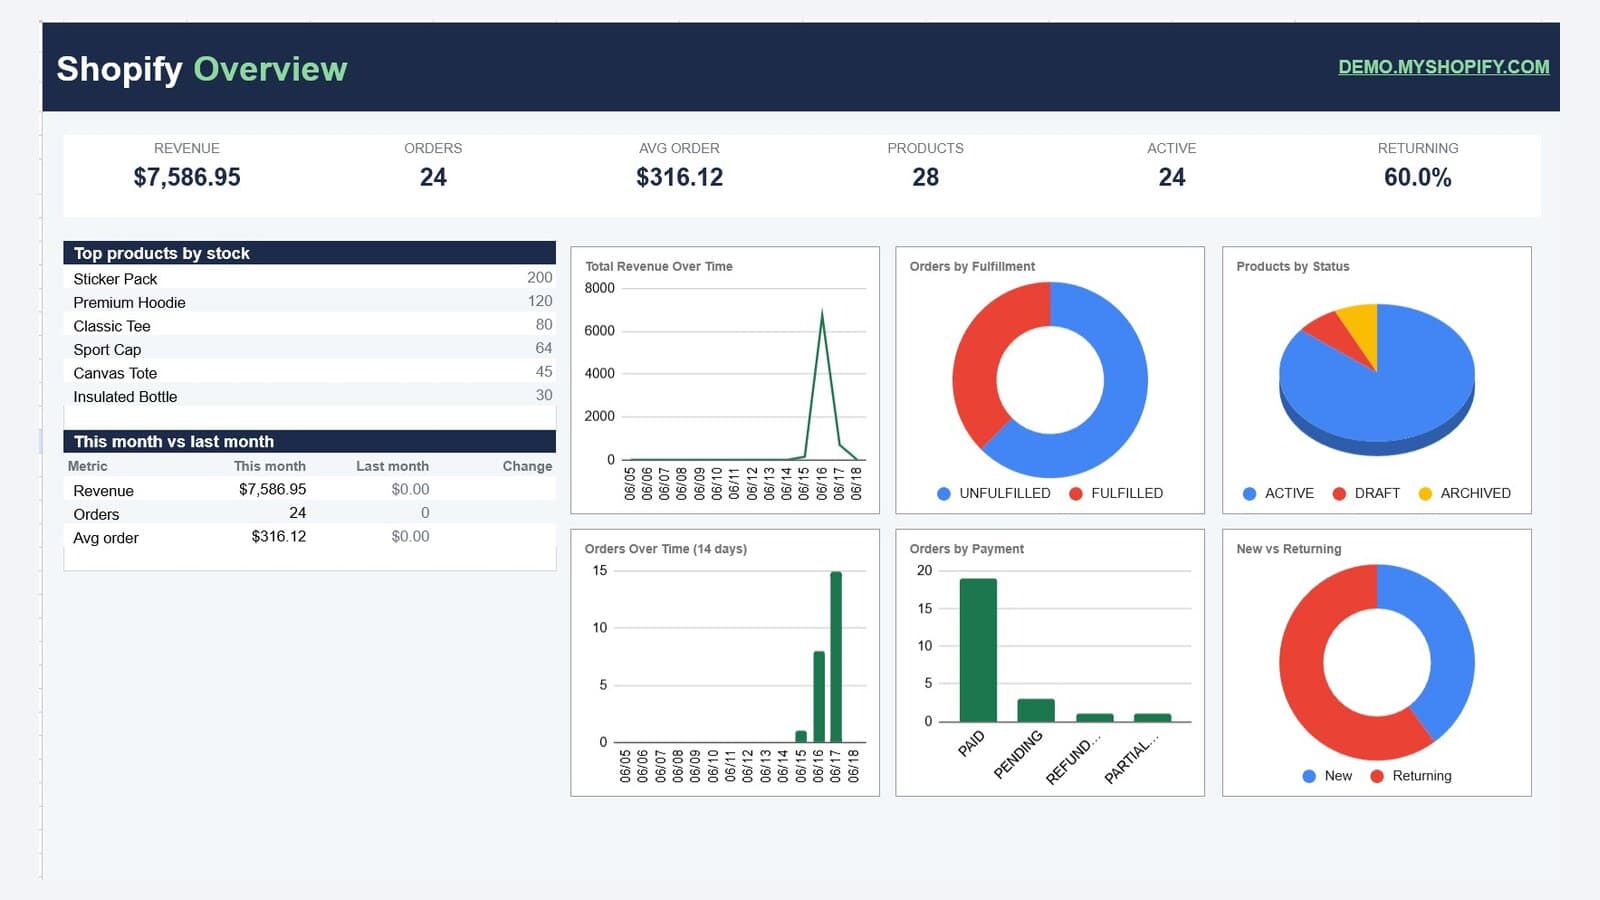
If you run a Shopify store, you've probably exported a CSV of your orders at least once - and then done it again a week later, because the file was already out of date. Spreadsheets are where a lot of real store work happens: reconciling payouts, building custom reports, sharing numbers with a bookkeeper or a co-founder who doesn't have admin access. But Shopify's built-in CSV export is a snapshot, not a connection.
This guide shows how to keep a Google Sheet continuously in sync with your store - orders, products, customers, and inventory - formatted and readable, with an overview dashboard that refreshes on every sync.
Why not just export a CSV?
CSV exports work once. The moment a new order comes in, your sheet is stale, and re-exporting means re-formatting, re-linking, and rebuilding any charts you'd made. For anything you look at more than once - a weekly revenue view, an inventory list you share with a supplier - you want a live connection, not a download.
Option 1: Google Apps Script (the DIY route)
You can write an Apps Script that calls the Shopify Admin API and writes rows into a sheet. It's free and flexible, but you'll maintain API credentials, pagination, rate limits, and formatting yourself - and it breaks quietly when Shopify ships a new API version. Great if you love code; a time sink if you don't.
Option 2: A sync app (the fast route)
A purpose-built app handles the connection, formatting, and scheduling for you. Here's the whole flow with Sleek Sheets:
- Install Sleek Sheets from the Shopify App Store.
- Click Connect Googleand pick the account that should own the spreadsheet. Sleek Sheets uses Google's restricted drive.file scope - it can only touch the one sheet it creates, nothing else in your Drive.
- Choose what to sync - Orders, Products, Customers, Inventory - and which columns you care about.
- Click Sync now. Sleek Sheets builds a formatted, multi-tab spreadsheet and fills it in.
- Open your sheet: clean tables with status chips, deep links back to your admin, and an Overview dashboard with revenue and fulfillment charts that rebuilds on every sync.
On the free plan you sync manually; Pro ($9/month) adds automatic hourly or daily syncs, so the sheet stays current without you clicking anything.
What you can build once the data is live
- A revenue dashboard you share with a co-founder or investor - no Shopify seat required.
- An inventory list your supplier can read, where you control exactly what's shared.
- Pivot tables and custom reports that update themselves.
- A bookkeeping export your accountant actually likes.
FAQ
Does it change my store?
No. Sleek Sheets is read-only on Shopify. It never writes back.
Where does my data go?
Only into a spreadsheet in your own Google account. Nothing is stored on our servers.
Can I choose the columns?
Yes. Every tab lets you pick exactly the fields you want.
Get started
Install Sleek Sheets and have a live, formatted Google Sheet of your store in about two minutes.
Try Sleek Sheets free
Install it and have a live, formatted Google Sheet of your store in about two minutes. Free plan, no card required.
Install on the Shopify App Store